Content is for hobbyist reference only — results will vary by conditions and materials.
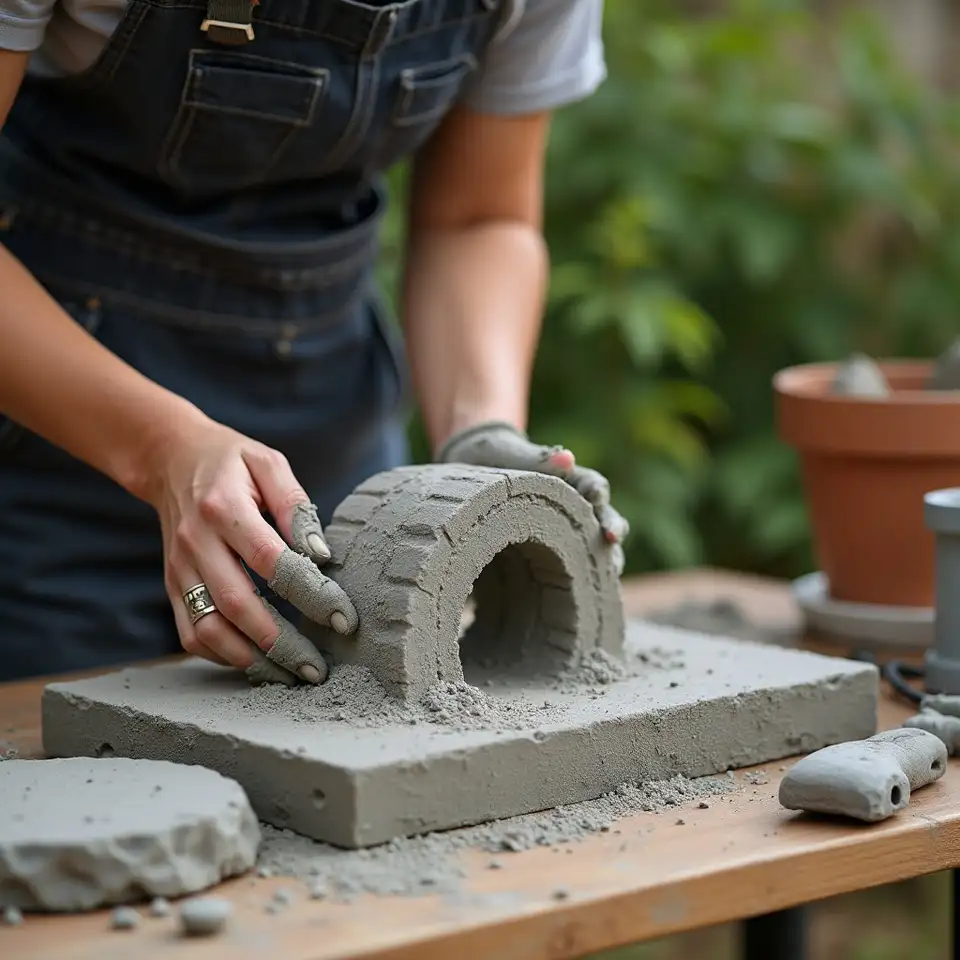
Start here
Your first concrete garden ornament is closer than you think
We will not pretend it is effortless — but it is genuinely manageable with the right groundwork
We made our first concrete piece with the wrong cement, an improvised mold, and more
confidence than knowledge. It cracked. What we learned from that failure — and from the
community of hobbyists who shared their own early mistakes — is now collected here. This
page covers what you actually need before you begin: which materials matter, which tools you
can skip, how a basic mix works, and what to expect the first time you demold something.
Nothing is oversold. If a step is genuinely tricky, we say so.
Plain-language technique guides
Tested by real hobbyists
No equipment assumptions
The beginner's path from materials to finished ornament
Three honest stages that cover everything between buying your first bag of cement and sealing a finished piece
Gather and understand your materials first
Most first-time concrete crafters buy materials before they understand what each one does. That is how you end up with the wrong cement type or a mold that will not release. Before purchasing anything, spend time understanding the difference between Portland cement and rapid-set mixes, why aggregate size affects surface texture, and what a mold release agent actually does at a chemical level. Our materials reference covers each component individually, with notes on what is available at Australian hardware retailers and what substitutions are workable. Once you understand the function of each ingredient, shopping for your first project becomes straightforward rather than guesswork.
Mix, pour, and wait longer than you want to
The two most common beginner errors happen at this stage: adding too much water to make
mixing easier, and demolding too soon because waiting feels unproductive. Both are
understandable. Both produce cracked or structurally weak results. A correct
water-to-cement ratio produces a mix that is workable but not sloppy — roughly the
consistency of thick peanut butter for most ornament applications. Pouring into a
prepared mold is satisfying; what follows is less so. Concrete requires time to cure
properly, and the curing period is not simply about hardness. It is about the chemical
process completing correctly. We document specific curing windows for different mix
types and ambient temperature ranges, including the adjustments needed for Australian
summer conditions.
Demold, finish, and seal with care
Demolding too early is the single most common cause of surface damage in hobbyist
concrete work. The piece may feel firm but the internal structure is still developing,
and flex stress during demolding can introduce hairline cracks that only become visible
weeks later. Once demolded correctly, finishing options include sanding rough edges,
applying oxide pigment washes, and sealing with a penetrating concrete sealer
appropriate for outdoor use. Sealing is not optional for garden ornaments exposed to
Australian weather conditions — UV exposure and wet-dry cycles will degrade unsealed
concrete surfaces over time. We document the finishing and sealing process in specific
detail, including which sealer types perform well in humid coastal environments versus
drier inland conditions.
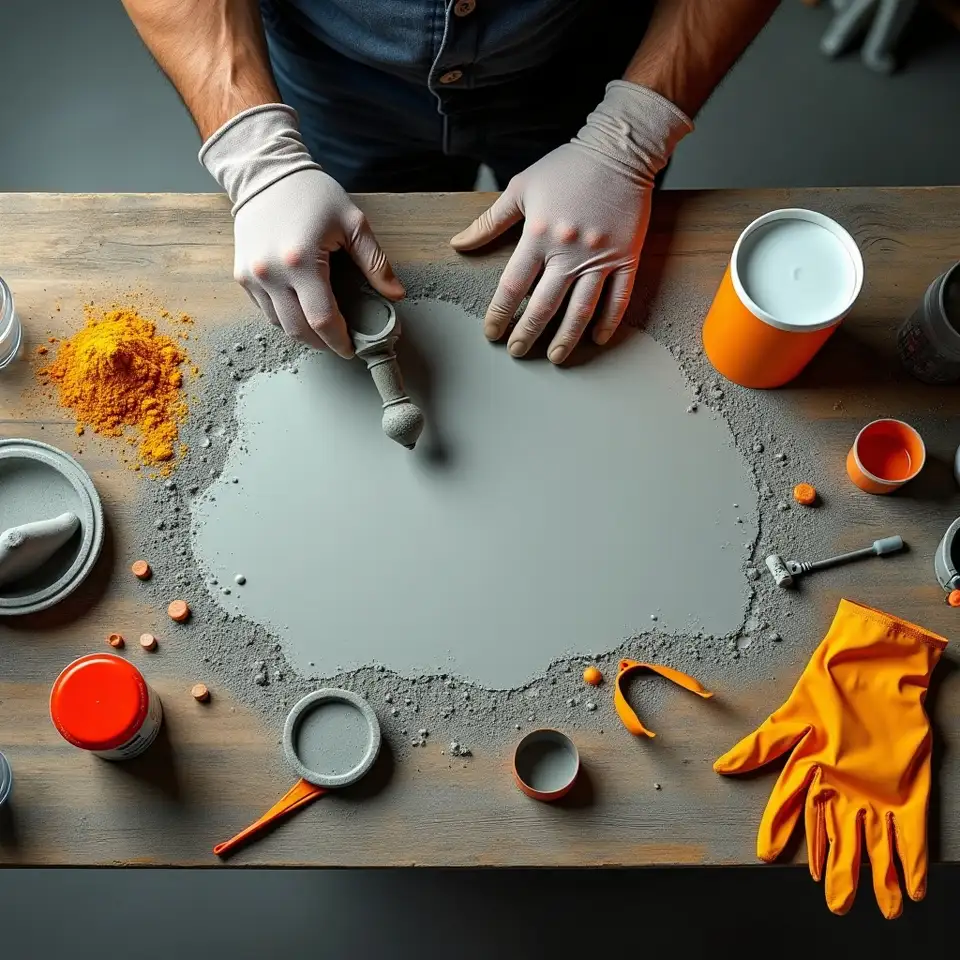
Tools and materials for concrete crafting
Mistakes worth knowing before you start
These are the six errors that appear most consistently in community feedback — each one is fixable, and each one is easier to avoid than to correct after the fact
Mixing
Adding too much water to the mix
Extra water makes mixing feel easier but fundamentally weakens the finished piece. The water-to-cement ratio in concrete chemistry is not a preference — it directly determines compressive strength and surface durability. A mix that looks too stiff is usually correct. If you cannot work with it comfortably, investigate plasticiser additives rather than adding more water. This single adjustment would prevent the majority of structural failures reported by beginner crafters in our community.
Adding too much water to the mix
Extra water makes mixing feel easier but fundamentally weakens the finished piece. The water-to-cement ratio in concrete chemistry is not a preference — it directly determines compressive strength and surface durability. A mix that looks too stiff is usually correct. If you cannot work with it comfortably, investigate plasticiser additives rather than adding more water. This single adjustment would prevent the majority of structural failures reported by beginner crafters in our community.
Mixing
Curing
Demolding before the concrete is ready
Concrete does not cure at a fixed speed. Temperature, humidity, and mix composition all affect the timeline. A piece that feels solid on the surface may still have insufficient internal strength to survive the flex and stress of demolding. Our community guidance recommends waiting at minimum twenty-four hours for most small ornaments, and longer in cooler or very humid conditions. Touch-testing the surface is not a reliable indicator — use time as your primary measure.
Demolding before the concrete is ready
Concrete does not cure at a fixed speed. Temperature, humidity, and mix composition all affect the timeline. A piece that feels solid on the surface may still have insufficient internal strength to survive the flex and stress of demolding. Our community guidance recommends waiting at minimum twenty-four hours for most small ornaments, and longer in cooler or very humid conditions. Touch-testing the surface is not a reliable indicator — use time as your primary measure.
Curing
Safety
Skipping safety gear for a quick pour
Cement is alkaline enough to cause skin burns with prolonged contact, and the dust from dry mixing is a respiratory concern with repeated exposure. Nitrile gloves, safety glasses, and a dust mask rated for fine particulates are not excessive precautions for a hobby project — they are standard practice. The Australian Work Health and Safety guidelines on cement handling apply to hobbyist use as much as to professional construction. We document the specific gear required for each project type on the relevant guide page.
Skipping safety gear for a quick pour
Cement is alkaline enough to cause skin burns with prolonged contact, and the dust from dry mixing is a respiratory concern with repeated exposure. Nitrile gloves, safety glasses, and a dust mask rated for fine particulates are not excessive precautions for a hobby project — they are standard practice. The Australian Work Health and Safety guidelines on cement handling apply to hobbyist use as much as to professional construction. We document the specific gear required for each project type on the relevant guide page.
Safety
Molds
Using the wrong mold material
Not all containers survive contact with wet concrete. Some plastics warp under the alkaline pH; some foam molds compress unevenly under the weight of the pour. Silicone molds are the most forgiving for beginners because they flex during demolding and release cleanly without agent. Rigid plastic containers work well but require a release agent applied thoroughly. Avoid cardboard, unsealed timber, and thin polystyrene for any pour with significant depth, as all three are documented failure points in community project reports.
Using the wrong mold material
Not all containers survive contact with wet concrete. Some plastics warp under the alkaline pH; some foam molds compress unevenly under the weight of the pour. Silicone molds are the most forgiving for beginners because they flex during demolding and release cleanly without agent. Rigid plastic containers work well but require a release agent applied thoroughly. Avoid cardboard, unsealed timber, and thin polystyrene for any pour with significant depth, as all three are documented failure points in community project reports.
Molds
Environment
Ignoring the curing environment
Concrete cures through a chemical reaction that requires moisture, not simply air-drying. Leaving a fresh pour in direct Australian summer sun will cause the surface to dry faster than the interior, producing surface cracking. Covering the piece loosely with damp hessian or plastic sheeting during the first twenty-four hours slows moisture loss and produces a more uniform cure. This step is frequently omitted by beginners because it is not intuitive — concrete seems like it should dry in the sun, not in the shade under damp cloth.
Ignoring the curing environment
Concrete cures through a chemical reaction that requires moisture, not simply air-drying. Leaving a fresh pour in direct Australian summer sun will cause the surface to dry faster than the interior, producing surface cracking. Covering the piece loosely with damp hessian or plastic sheeting during the first twenty-four hours slows moisture loss and produces a more uniform cure. This step is frequently omitted by beginners because it is not intuitive — concrete seems like it should dry in the sun, not in the shade under damp cloth.
Environment
Finishing
Skipping the sealer on finished pieces
An unsealed concrete garden ornament placed outdoors in Australian conditions will absorb water, which then expands and contracts with temperature changes and gradually degrades the surface structure. Pigmented pieces fade faster without UV-resistant sealer. The sealing step is often skipped because the piece looks finished without it, and applying sealer feels anticlimactic after the satisfaction of demolding. It is nevertheless the step that determines how long the piece will remain presentable. We document sealer types and application methods for different ornament categories in the techniques section.
Skipping the sealer on finished pieces
An unsealed concrete garden ornament placed outdoors in Australian conditions will absorb water, which then expands and contracts with temperature changes and gradually degrades the surface structure. Pigmented pieces fade faster without UV-resistant sealer. The sealing step is often skipped because the piece looks finished without it, and applying sealer feels anticlimactic after the satisfaction of demolding. It is nevertheless the step that determines how long the piece will remain presentable. We document sealer types and application methods for different ornament categories in the techniques section.
Finishing
Common beginner questions
How long does concrete cure?
Most small ornaments reach sufficient strength to demold after twenty-four hours, but full cure takes approximately twenty-eight days. Temperature and humidity affect both timelines significantly.
Can I use regular cement?
Standard Portland cement from a hardware store works well for most beginner ornament projects. Rapid-set varieties are available but leave less working time and are not recommended for first attempts.
What molds work best?
Silicone molds are the most forgiving for beginners because they flex during release. Rigid plastic containers work with a release agent applied thoroughly before pouring.
Is this safe to do at home?
Yes, with appropriate precautions. Nitrile gloves, safety glasses, and a dust mask for dry mixing are the minimum recommended protection for any concrete crafting session at home.
Why did my piece crack?
Cracking most commonly results from too much water in the mix, demolding too soon, or drying too quickly in direct sun. Each cause produces a distinct crack pattern that helps diagnose the problem.
Do I need to seal the finished piece?
For garden ornaments exposed to weather, sealing is strongly recommended. Unsealed concrete absorbs water, which degrades the surface through repeated wet-dry and temperature cycles outdoors.
What water-to-cement ratio should I use?
A ratio of approximately 0.45 to 0.50 parts water by weight to one part cement is a reliable starting point for most small ornament projects with standard Portland cement.
Can I add colour to my concrete?
Yes. Iron oxide pigments are the most commonly used and stable option for outdoor concrete. They are added dry to the cement before mixing and produce consistent, UV-resistant colour results.

Ready to make your first piece?
The projects section has step-by-step guides for ornaments that are genuinely achievable on
a first attempt
We have documented beginner-appropriate projects with specific material quantities, mix
ratios, curing times, and finishing notes — all tested by community members who were also
making their first concrete piece at the time. The guides include failure notes alongside
the instructions, because knowing what went wrong for others is, in our experience, more
useful than a tutorial that only shows the successful outcome. Browse the projects, pick one
that matches your available materials, and see what happens. The community is there if
something goes unexpectedly.
The Traetnuemcuimbo team