Content is for hobbyist reference only — results will vary by conditions and materials.
Project guides by difficulty
level
Concrete ornament projects tested by real hobbyists
Each guide here was documented by a community member who made the piece in an ordinary backyard with hardware-store materials. Mix ratios, curing times, mold choices, and failure notes are included as standard — not as afterthoughts buried at the bottom of the page.
- Real mix ratios and quantities for each specific project
- Failure notes alongside instructions, not just success photos
- Difficulty ratings based on community completion feedback
Concrete garden ornament projects from beginner to advanced





How each project guide is built and reviewed
Every guide in this library follows a documentation process designed to produce instructions
that are reproducible in ordinary conditions, not just in the hands of the person who first
made the piece.
1
Community member completes and documents the project
A hobbyist contributor makes the project in their own workspace, recording
material quantities, mix ratios, ambient conditions, and process photographs at
each stage. They document what they would do differently on a second attempt and
note any steps where the outcome surprised them — positively or negatively. This
raw documentation is the foundation of every guide on the site. We do not
commission projects made in controlled conditions specifically for publication,
because those results do not reliably transfer to ordinary backyard workshops.
Contributors are asked to weigh materials rather than estimate by volume
wherever possible, because weight-based ratios produce more consistent results
across different material brands and regional formulations.
2
Editorial team reviews for accuracy and reproducibility
The core team reviews the submitted documentation against known concrete chemistry principles and existing technique references. Where a step relies on tacit knowledge the contributor may not have articulated — a particular consistency cue, a timing judgment, a visual indicator — the editorial team asks follow-up questions until the instruction is explicit enough for a first-time maker to follow without prior experience. Steps that cannot be made reproducible in writing are flagged as requiring video documentation or are described with explicit uncertainty so the reader knows to proceed carefully.
The review process typically involves two to four rounds of correspondence
between the contributor and the editorial team before a guide is approved for
publication on the site.
3
Technique references are linked and cross-checked
Each project guide is connected to the relevant technique articles covering the
mix type, mold category, and finishing method involved. This cross-referencing
allows a reader to move from a specific project instruction to a deeper
explanation of the principle behind it without leaving the site. Cross-checking
also ensures that project guides do not contradict technique articles — a
consistency problem that appeared in early community submissions and required a
systematic review process to resolve across the existing guide library.
Where a project uses a technique variation that differs from the standard method
documented in the technique reference, the variation is explained and the reason
for it is stated explicitly in the guide.
4
Published with failure notes and revision history
Guides are published with a visible section documenting what went wrong in the original attempt, what the contributor changed on a second or third attempt, and what community members have reported since publication. Where a guide has been revised following reader feedback, the revision is noted with a date so readers can see that the content has been updated. This is not a standard practice in most crafting resources, but it is the practice that community members consistently identify as the most useful feature of the project documentation on this site.
Guides that receive significant correction feedback from multiple community members are flagged for priority editorial review and updated before the original version can mislead further readers.
From the community workshop
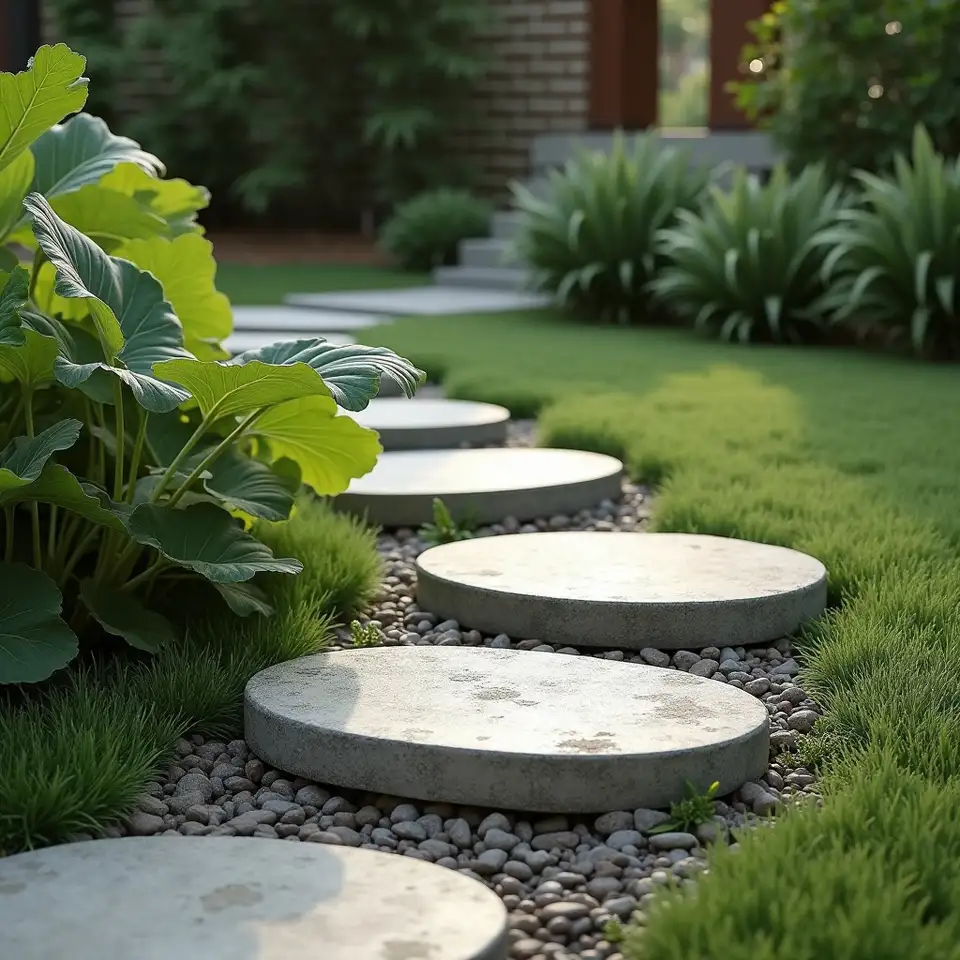
These are project photographs submitted by hobbyist contributors alongside their guide
documentation. Each image shows the finished piece in the maker's actual garden or
workspace — natural light, real conditions, and the occasional visible imperfection that
makes hand-cast concrete objects worth making in the first place.

Featured
Stepping stone, first attempt
Leaf-textured stepping stone in real garden path setting

2
Hypertufa planter, balcony garden

3
Birdbath, second pour attempt

4
Frog figure, silicone mold
Share your work
Have you made a concrete garden ornament worth documenting?
We are looking for hobbyist contributors who have completed a concrete garden ornament project and are willing to document it honestly — including what went wrong, what they adjusted, and what they would tell someone attempting the same piece for the first time. You do not need a perfect result. You need a genuine account of the process. The community benefits most from documentation that includes the failure observations, the mid-project adjustments, and the realistic assessment of difficulty that only comes from having actually made the thing. If you have a completed project and are willing to write it up, we will work with you through the editorial review process to turn your notes into a guide that other hobbyists can follow. The submission process is described on the contact page.
Submit your project01Document your mix ratios and quantities